For many travelers, photography is an essential part of their experience. Some travelers take photos to create visual memories. Others may photograph their travels as a means of income. There are even those who take photos simply because they enjoy the process. Whatever the reason, a travel photography kit is essential! A travel photography kit is a must-have collection of items that will improve your photographic process when on the road. 
1. Gorillapod
I would not travel anywhere without my Gorillapod! This tripod is one of my favorite travel accessories. Gorillapod is a manufacturer of small tripods suitable for travel. I have two different models - one for my smartphone and one for my DSLR camera. The tripod is made of a series of interconnected balls - you can rotate these balls and flex the tripod legs into different positions. This means you can either stand it on a flat surface or even wrap it around posts and railings for example. Gorillapods are superb for long exposure shots, selfies, and photos intended to capture movement. 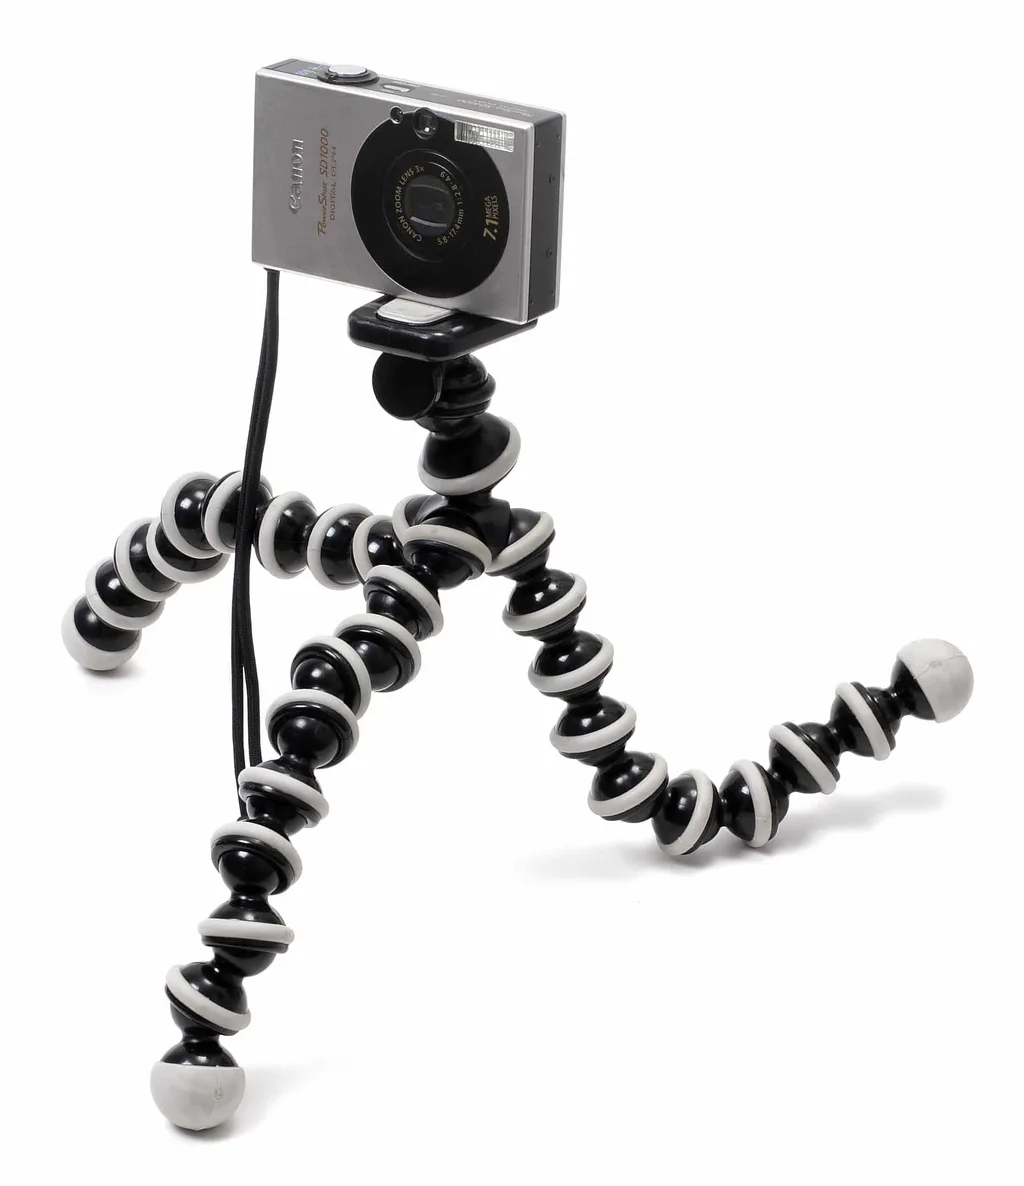
2. Microfiber lens cloth
When traveling, my lenses get dirty. Despite my best efforts, I always manage to get small marks on the glass. Yes, I know this isn’t ideal, but it can’t be helped! Even if you take your camera out for a few minutes, dust and debris can still find its way onto your lens. This is why your travel photography kit should contain a microfiber lens cloth. My weapon of choice is the awesome Hama microlens cloth. This cloth is quite small (approximately 5” x 5”) but extremely portable. It fits in a compact plastic case that can fit in your pocket or camera bag. The cleaning quality is fantastic too.
3. Shutter remote control
Have you ever tried taking a long exposure shot without a remote control? It’s a nightmare! I always take a shutter remote control in my travel photography kit. A shutter remote control gives you great flexibility when traveling. I have used it to take selfies for example in conjunction with a Gorillapod. There isn’t always someone there to take your photo so it can be really useful! Furthermore, I often use my shutter if I need my camera to be completely still - I have shaky hands so it helps so much.
4. Waterproof camera case
Obviously, you must protect your camera from the elements. If you travel frequently you will encounter a wide variety of weather conditions. For example, in Antarctica, I battled against snow, hail, rain, and wind. Alternatively, in Jordan, I had to contend with sand, heat, and dust. A waterproof camera case is, therefore, a necessity for your travel photography kit. Which case you buy depends on the model of your camera. I have a Canon EOS-M which is a small crossover DSLR. I have an OP/TECH USA waterproof case - it fits my camera with an attached lens perfectly. More importantly, it keeps my camera protected during my adventures! 
5. Portable USB SD Card reader should be part of your travel photography kit
Having the ability to upload your photos to a laptop or tablet on the go is fantastic. If you are a travel blogger this is even more important. When I travel for longer periods of time, I always take my USB SD card reader. This is a simple device that connects via USB to your laptop or tablet. You can then slot an SD card into it and transfer photos directly to your chosen device. USB Card readers usually have a fast connection and thus you can upload photos in an instant. Moreover, if you use editing software such as Adobe Lightroom, you can directly export from the card reader to your photo catalog. I use the Lexar USB 3.0 dual card reader.
6. Bubble-wrap
You may think… has this guy gone crazy? No! I kid you not, I have bubble-wrap in my travel photography kit! Surely you can guess why I use it? For protection and padding! Not just my camera, but my accessories too. I have a handful of small pieces of bubble wrap cut to size that I always place inside my kit. What do I wrap up? I wrap my spare batteries and SD memory cards. Furthermore, I always place bubble wrap within my camera case. I feel this just provides extra protection which is vital when traveling.
7. A must in every travel photography kit are multiple SD cards
All modern DSLR cameras require an SD card - this is what you store your photos on. When traveling, I take three SD cards. Why? For redundancy. No travel photography kit could be complete without spare SD cards. What would you do if your one and only SD card became corrupted? You would lose your travel photos! If you have two spare memory cards, you can share your photos between them as a fail safe. I always use Lexar memory cards to go with my USB card reader. I own two 32gb Lexar Professional 400x speed memory cards, and one 16gb - this is ample storage space even when taking full RAW photos. 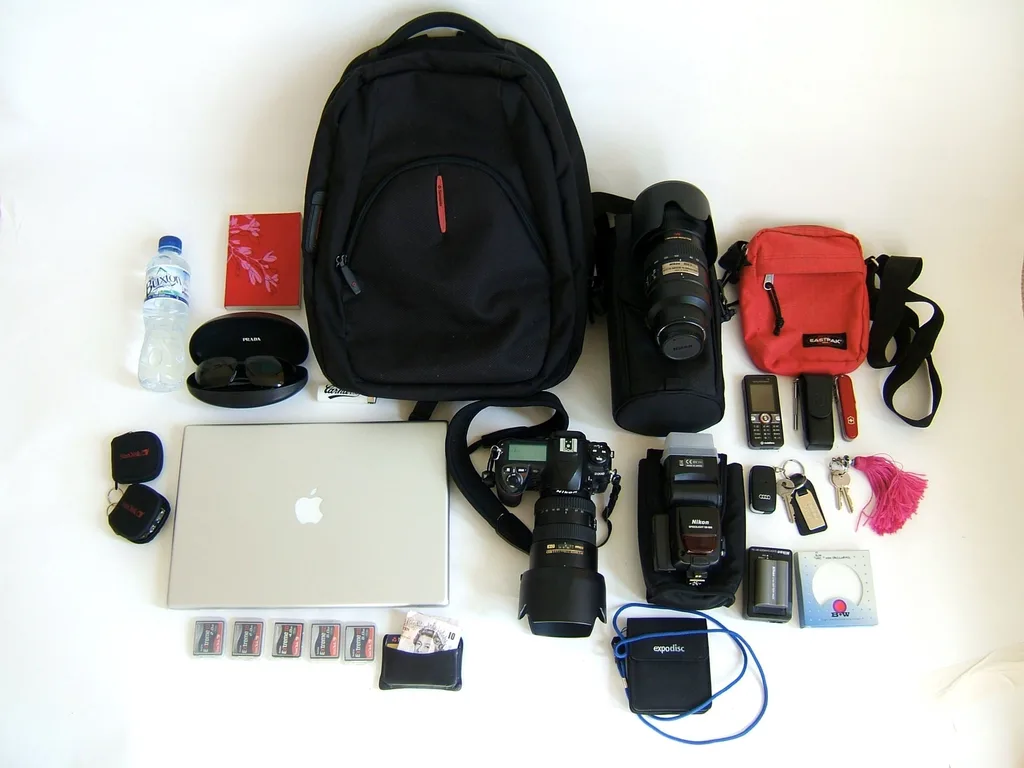
8. Don’t forget to include in your travel photography kit: multiple spare batteries
If you travel with only one battery, you are setting yourself up for a fall. What happens when you have been on a tour all day, and that one battery dies? You could miss out on some amazing photographic opportunities. Within my travel photography kit, I carry three batteries in total. One battery sits in my camera, the other two, within my accessory bag. All three batteries are fully charged before I head out exploring! I always buy proprietary batteries i.e. official batteries from the camera manufacturer.
9. GoPro camera
Aside from my main Canon EOS-M camera, I always carry my GoPro too. A GoPro allows you to capture photos and videos that you can’t with a DSLR. Moreover, it allows you to experiment with new angles. I mainly use my DSLR for photography and my GoPro for video or underwater shots. By using both types of capture device, you can really create a wide variety of photos and media during your travels. I own the GoPro Hero Session and official selfie stick too.
10. Lens Filters
Lens filters are small and portable. Additionally, lens filters can enhance your travel photography with minimal effort. There are several types of filter commonly used - a UV filter, and an ND filter. I would advise adding a couple of different lens filters to your travel photography kit. If you are traveling long-term, a filter can help you get the photo right the first time, as opposed to editing in Lightroom afterward. Fujiyama is a well-known filter manufacturers and produces a variety of different models for DSLR cameras. 10 simple items to create an awesome travel accessory list perfect for photography buffs. I don’t know where I would be without my travel photography kit! The great thing is, is that it doesn’t take up much room in my suitcase or backpack either. I can’t count the times my kit has proved invaluable - without it, I don’t think I would have been able to take some of the amazing photos that I have! Now that you have the kit, It’s time to check out our 10 amazing travel photography hacks that will turn your work into a masterpiece.